
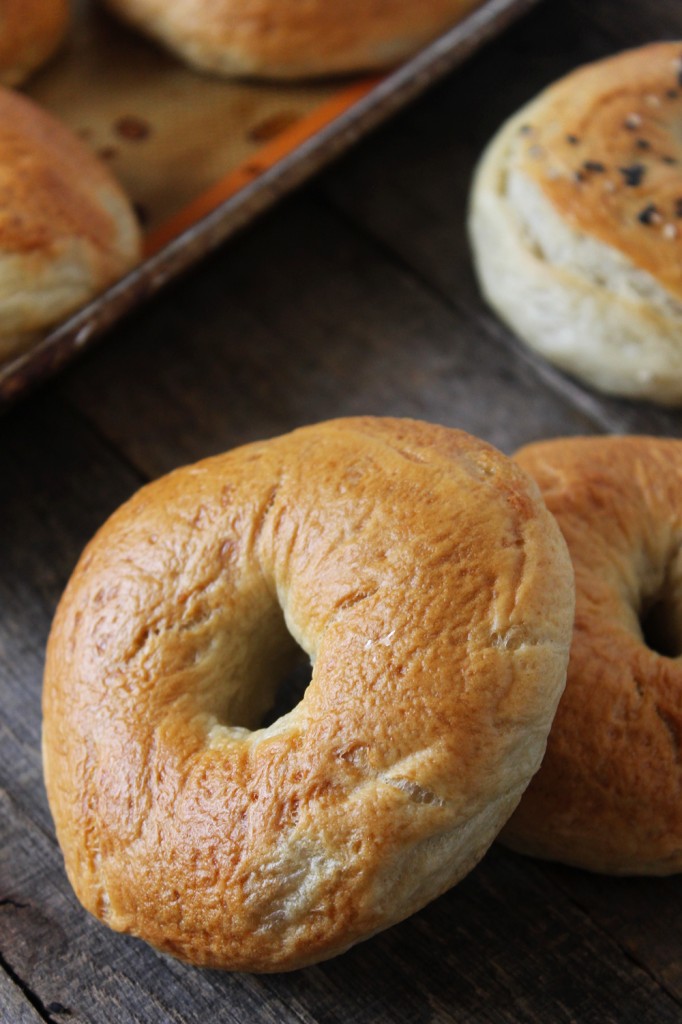
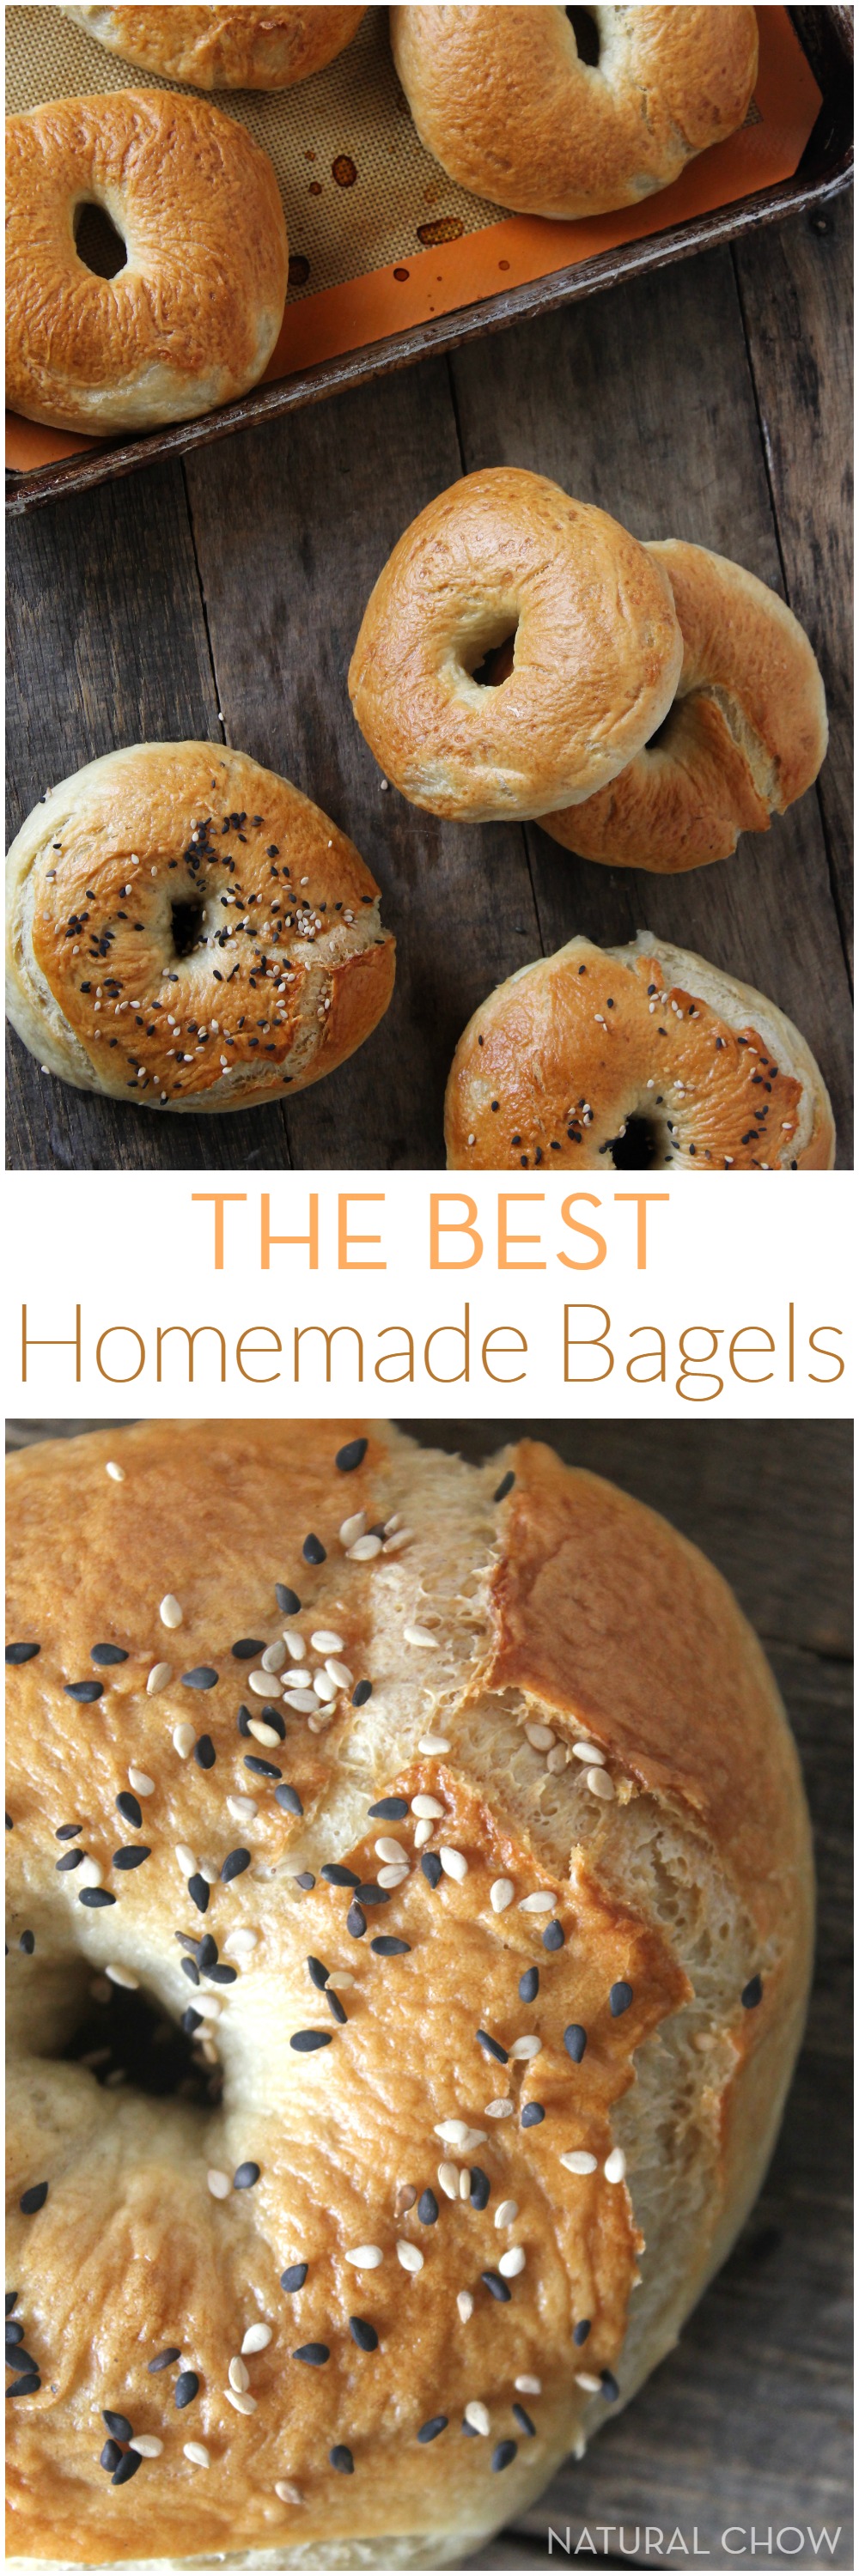
Made with only 8 ingredients, these homemade bagels are easy to make and taste heavenly. They’re of much higher quality than the store bought kind and are also way cheaper!
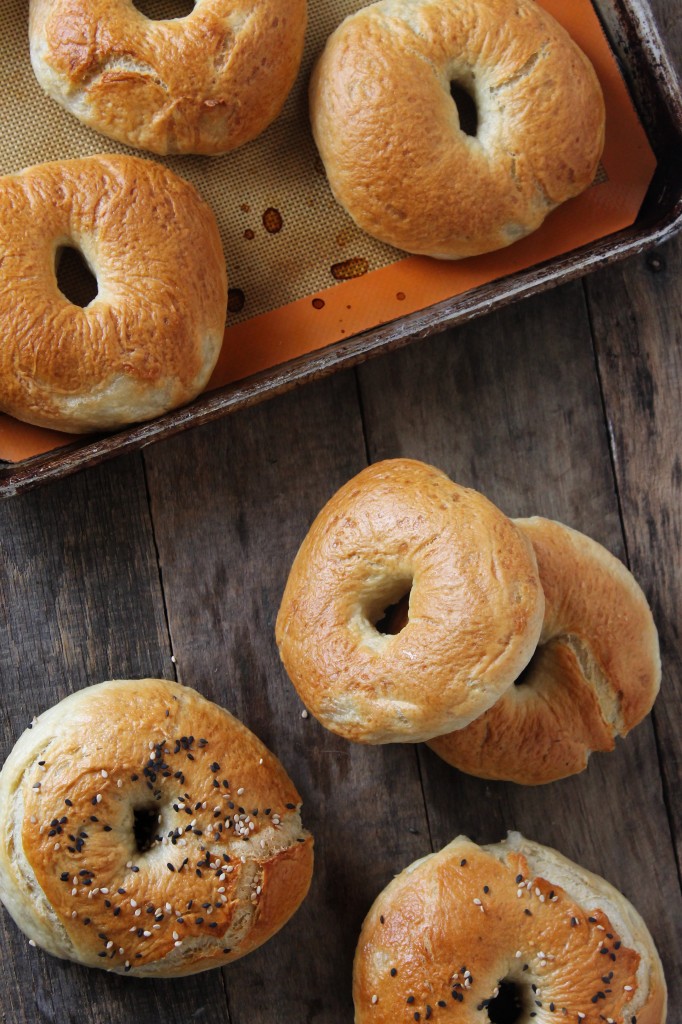
So, a long, long time ago, I shared with you a recipe for easy homemade bagels. Turns out you guys loved the heck out of it despite the god awful pictures included in the post.
To date, it is in my top ten most popular posts. And it still has crappy pictures. So today, I decided to do that amazing bagel recipe justice with new pictures, more explanation of HOW to make them, and improved recipe instructions. And I’ve even got a little video down there from the Maria Alison from Ten at the Table (also my sister) that shows EXACTLY how to shape the bagels.
Shaping the bagels was BY FAR the biggest question I’ve gotten regarding the recipe.
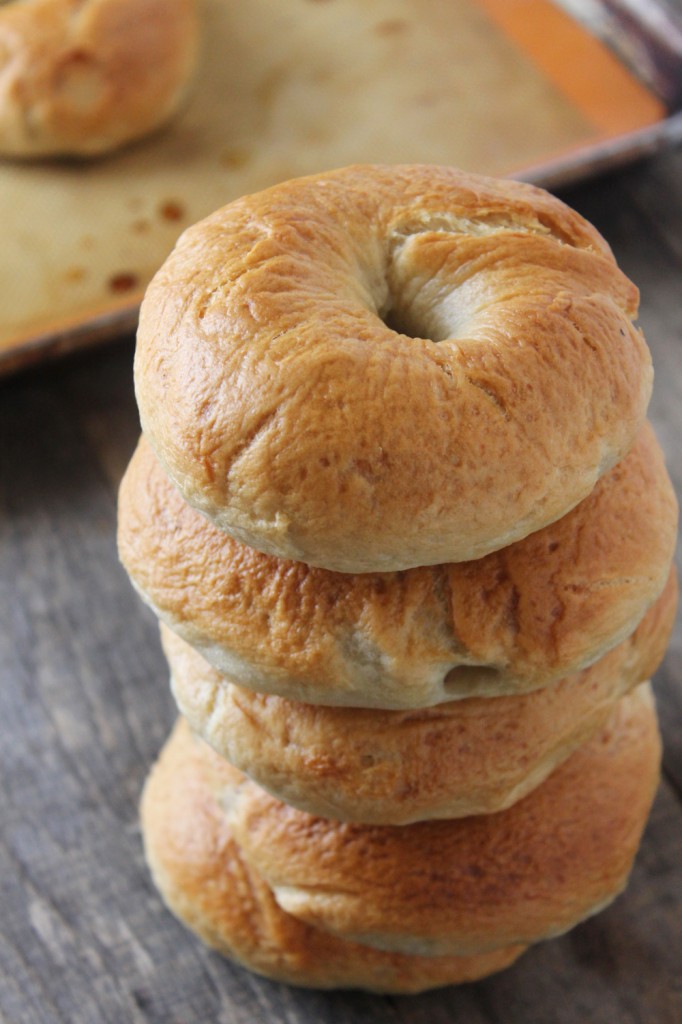
If you’ve never made bagels before, you’re reeeeeaally missing out. Homemade bagels are a bajillion times better than the store bought kind, are WAY healthier for you (no dough conditioners, preservatives, etc.), and even cost less. Yep, that’s right—they cost less!
A bag of bagels from the store costs around $3-$4, in my area at least, and you only get six bagels out of the deal. Homemade bagels cost around $1-$2 to make, which obviously varies depending on the cost of your ingredients, and you get 8 bagels.
I don’t know about you, but right now, homemade bagels are sounding purty dang good.
The only downside (although it’s not really a downside in my eyes) is that you have to wake up at 5:00 am if you want fresh bagels at 8:00 am. Yes, they take 3 hours to make and, no, not all of that is active time.
You mix the dough ingredients together, knead for 10 minutes, and sleep for 1.5 hours while the dough is rising. You wake back up, divide the dough into 8 balls. Then you sleep for 20 minutes (or waste time on Instagram). And after that, you get the water bath ready, which takes about 10 minutes. Usually, right around this stage in the recipe, it’d be 7:00 am or so.
And THEN, you get to shape the bagels. DON’T FREAK OUT! It’s super easy I swear. And, as promised, here’s that bagel shaping video. And, yes, those are my hands in the video. ![]()
See, I told you it was easy.
I think you’re ready to whip out a batch of the BEST homemade bagels in the world. Booyah!
Here’s the recipe:
- 1½ cups warm water (110° F)
- 1 tablespoon active dry yeast
- 1 tablespoon brown sugar
- 4 cups unbleached all-purpose flour
- 2 teaspoons kosher salt
- 2 quarts (8 cups) water
- 2 tablespoons brown sugar
- 1 tablespoon unbleached pure cane sugar
- Pour the water into the bowl of a stand mixer. Sprinkle in the yeast and brown sugar. Let sit 2-3 minutes. Add in the flour and salt and mix on low speed until a cohesive dough has formed. Knead the dough for 10 minutes. Place the dough in a greased bowl, cover with a kitchen towel, and let rest for 1.5 hours.
- Transfer the dough to a floured work surface. Divide the dough into 8 equal parts and shape into smooth, round balls. Cover them with a kitchen towel and let rest for 30 minutes.
- While the dough is resting, prepare the water bath by heating the water and brown sugar to a very gentle boil in a large pan (I use a wok).
- Preheat your oven to 425° F. Use your pointer finger to poke a hole through the center of each ball, then twirl the dough on your finger to stretch the hole until it is about 2 inches in diameter (the entire bagel will be about 4"-5" across).
- Place each bagel on a lightly greased or parchment-lined baking sheet, and repeat with the remaining pieces of dough.
- Transfer the bagels to the simmering water, four at a time. Increase the heat to bring the water back up to a gently simmering boil, if necessary. Simmer the bagels for 2 minutes, flip them over, and simmer 1 minute more.
- Using a skimmer or strainer, or the end of a wooden spoon, remove the bagels from the water and place them back on the baking sheet. Repeat with the remaining bagels.
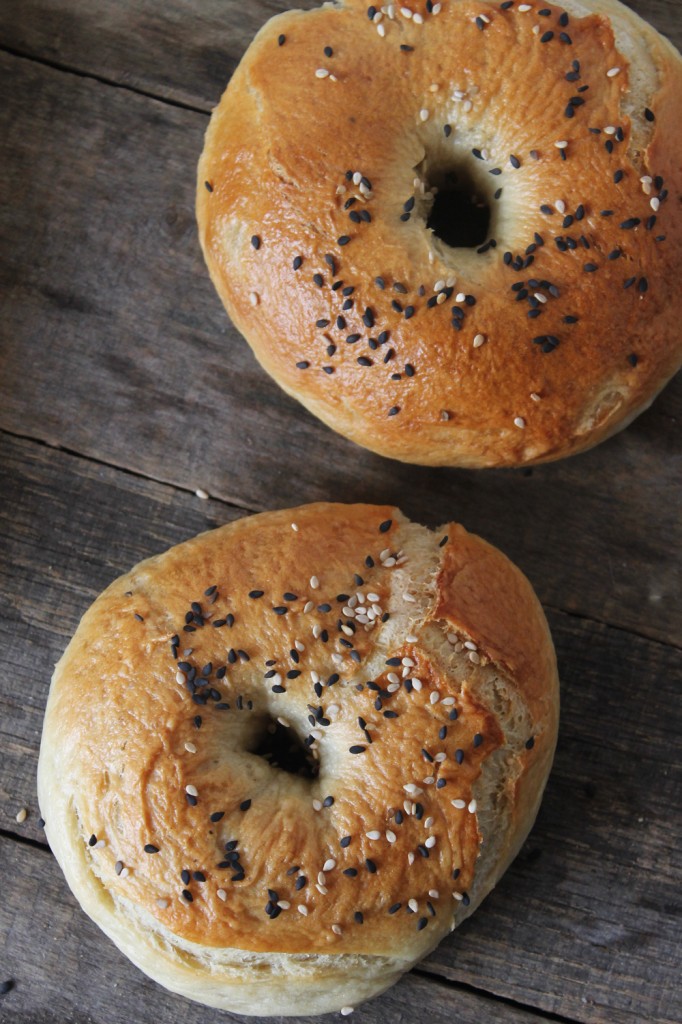
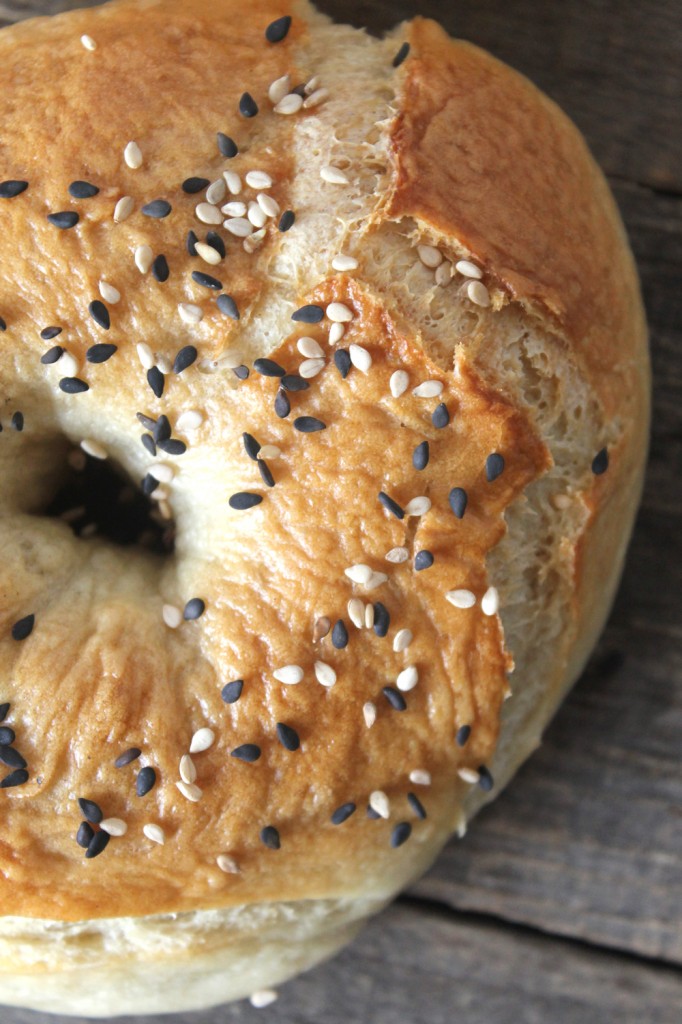
- Bake the bagels for about 25 minutes, or until they're browned to your preference. To top with seeds, remove them from the oven after about 15 minutes, brush with water, and sprinkle with seeds. Return to the oven to finish baking.
- Place the bagels on a cooling rack to cool for 5 minutes before serving. Serve with cream cheese, lox, eggs, or whatever you'd like.
Variations:
Sesame Seed Bagels: Brush each bagel, just before baking, with a glaze made of 1 egg white beaten until frothy with 1 tablespoon water. Glaze each bagel and sprinkle heavily with sesame seeds.
Onion Bagels: Bake bagels for 20 to 22 minutes and remove pan from oven, keeping the oven on. Working with one bagel at a time glaze as instructed above and sprinkle with minced, dried onion. Bake for 2 more minutes.
Cinnamon Raisin Bagels: Knead about 2/3 cup of raisins into the dough towards the end of the kneading process. Just before you’re done kneading, sprinkle your work surface heavily with cinnamon-sugar and give the dough a few more turns. Divide the dough into eight pieces, or more if doubling, form each piece into a ball, and roll each ball in additional cinnamon-sugar. Let rest and shape as directed above.
Aaaaaand, now for that announcement!
Did you know that you can get delicious recipes, just like this one, in your email inbox whenever there’s a new post?! It’s true!
 But I’m going to let you in on something. When you subscribe, not only will you get healthy recipes in your inbox to make your life more delicious, but you’ll also get my Top 15 Healthy Recipes cookbook—for FREE!
This recipe IS IN the cookbook, so if you liked these bagels, you’re sure to love all the other recipes in the cookbook.
With over 150 recipes on Natural Chow, it made the most sense to put only the most popular recipes into a cookbook and give away for FREE to my favorite people—YOU! All you have to do to get your free copy is use the sign-up form below.
SIGN UP FOR YOUR FREE COOKBOOK:
Enter your email address below to be added to our email list. You will receive a confirmation email and once you confirm your subscription you’ll receive (another email) with the download link.
Pin it:
Okie dokie, friends, happy bagel making!


These pictures are great! I used to make bagels all the time! Back when we couldn’t afford bread and such and I made it all instead. Now I’ve gotten lazy and, and more conscience of my growing backside, and lack of love for exercising all the time.
Thanks so much Ashley! You should SO start making bagels again—they’re the BOMB!
Can you substitute gluten free flour for the all-purpose flour?
Hi Lynne! I’ve never tried making bagels with gluten free flour before, but if you try it out, let me know how it went! Thanks!
What a great post– these look amazing! I’ve made homemade bagels before, but a long, long time ago. This is really making me crave them!
I made a half batch of these bagels this weekend (b/c I wasn’t sure how hard they would be and just to try them out), and they are INCREDIBLE. Chewy and delicious, even after a couple days stored in a plastic bag. I am definitely going to be making these on a regular basis. Thank you so much for the recipe, clear instructions, and the video that demonstrates how to form the bagel!
How bland would these become if I halved the amount the salt? Or wouldn’t I notice a difference, do you think? I am wondering what that would do to the flavor. Thanks!
Nick
Hi Nick! The salt does add a considerable amount of flavor to the bagels, but I think if you halved it and, say, spread cream cheese on, I think it’d be fine. Thanks for the question!
I wanted to chime in since I made these today. I made bagels a couple years ago from a different recipe and while good, I wanted to find “The Best” bagel recipe and found this. I made two batches, but decided to make them one right after the other rather than a double batch in the mixer – sometimes double batches get wonky for some reason. So as the first started to rest in the oven (no heat) I made the other real quick. Then when it came time to cut and such, I started with the slightly older batch first, so the times all evened out per the recipe. Anyhow, I made one batch sesame and one salt since I (SADLY) have no stuff for ‘everything’ bagels right now. I boiled and got one batch in the oven, then boiled and got the second batch ready. For part of the bake time two pans were in the oven at a time, which can mess with heat distribution, so I kept an eye on things. I didn’t brown mine as much as in the photos, but they’re brownish. I tried a sesame bagel as soon as I could handle it and was disappointed (KEEP READING… this turns out good!) to find it ‘bread like’ in the center and not chewy bagel-y, although it did toast up good like a good bagel. Why I wanted you to keep reading is that once I let them cool enough, they are FANTASTIC!!! Very bagel-chewy, which is how I love mine. We also made up some strawberry cream cheese and blueberry cream cheese and it’s all just delicious! I say all that so that you know 1) this recipe works! and 2) my process incase you want to adjust things or try a double batch, etc. My only problem is that my bagel balls weren’t smooth on the bottom, so I have splits and crags on the outside, but I love my bagels
This is my bagel keeper recipe.
And in case you guys haven’t seen the post elsewhere or thought of it, I just read a post about ‘everything bagel’ butter. Basically, take the goodies that make up the ‘everything’ part (poppy seeds, garlic, etc) and mix them in softened butter. Good on bagels, english muffins, toast, etc. I thought I’d just make up an ‘everything bagel’ dry mix and just shake it on buttered whatever-I’m-eating. Or, make ‘everything bagel’ cream cheese. I know that here not everyone likes the everything bagels, so this is one way to get the flavor without actually making everythings.
I followed this recipe exactly and loved most of it, but had a problem with one little part… I preheated the oven to 425°F like the recipe says, and then put the bagels in and set a timer for 25 mins. I went into the next room and had to come back only 10 minutes into the baking process because the whole apartment smelled of burning. The bottom sides of the bagels were totally black (although from the top they looked great). I think my oven tends to run on the hotter side, but I still wanted to put it out there for people who might use this recipe in the future: keep a close eye on your bagels, and consider trying a lower temp if your oven tends towards the hotter side. We did salvage the burnt batch by slicing off all of the blackened bits, and the bagels were wonderful!! I very much look forward to using this recipe again and again, maybe just with the oven at 350° next time
Hi Grace! I’m so sorry to hear about the recipe mishap! I think it’s a great tip to keep an eye on the bagels if you think your oven isn’t calibrated correctly. I am glad that you were able to salvage them though! And a lower temp for your oven is probably a good idea.
Have you ever made the dough before you went to bed and put them in the fridge and finished them in the morning?
So, now I’m craving a bagel and I don’t have 3 hours – gotta go to bed. They look awesome and tasty.
I can’t wait to make these!!!
hey Margaret! love the recipe and can’t wait to try it. was wondering how they would be if I baked them and then froze them for the next morning? have you tried making them ahead of time like this? thanks!
Hi Kate! I’ve never tried that before, but it sounds like it would work! If you try it, would you let me know how it turns out?
I’ve been making these for a few weeks now and i make them on monday and freeze them and then let them defrost on the counter and they taste great the next day!
These were amazing! I added a shredded asiago cheese to the dough and baked garlic on top. Tomorrow I’m going make chocolate chip bagels. I did cut the bake time down to 18 minutes.
Thank you for this fantastic recipe!
Has anyone tried adding fresh fruit to these recipes? I’m curious as to whether or not the other ingredients stay the same. I have never made bagels before and I’m really excited to try!
I love homemade bagels. These look great–pictures fabulous!
Hi. I was wondering I could substitute Instant dry yeast or fresh yeast? Which would be better and what amount would I do? Thanks!
Hi Hana! Of course you could use either, but if you use non-instant yeast, be sure to let it proof for 10-15 minutes, or until the mixture is foamy.
Thanks I loved making these bagels so worth the work.I used half whole wheat flour and half spelt flour also a product called no salt to address the sodium issue.They came out great.